The best ways to tackle common kitchen germs
Although you probably find yourself in the kitchen on a daily basis, we’re guessing it doesn’t get a proper clean nearly as often as it gets used. And while it's easy to put off the task of keeping your kitchen in good nick, a dirty environment is a breeding ground for all sorts of germs and bacteria, which can be harmful to you and your family.
From what's lurking in your oven to the nasties taking up residence in the sink, there's all manner of things waiting to breed and multiply in the kitchen. Targeting the areas that tend to be most affected, we've compiled some essential cleaning tips to keep this part of the home clean, protected and free from these unwanted guests, including the kitchen sink.
So rubber gloves and elbow grease at the ready, this could get messy...
Cleaning your oven
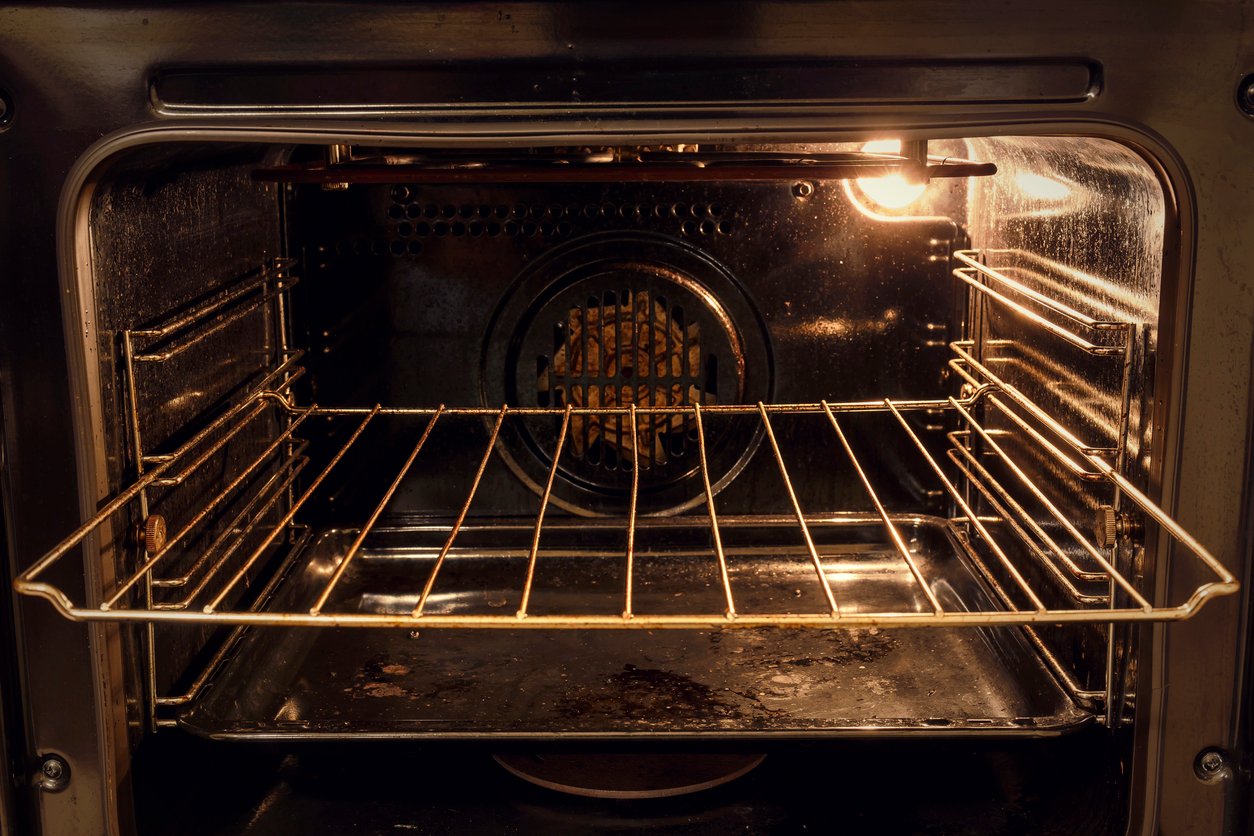
Your oven is made up of many different components, which leave it open to all sorts of grease build-up, dirt and unpleasant smells. Such things might mean you've put off cleaning it for some time. And while it's not the nicest of jobs to contend with, a dirty oven won't be able to perform at its best, and could even cause food to be improperly cooked as a result. This leaves you open to things like E. coli and salmonella.
What's more, a dirty oven collects germs over time and though the heat will kill many of them, take a guess where the remaining germs end up? That’s right – the meal you’re making seems a lot less appetising knowing it's covered in germs!
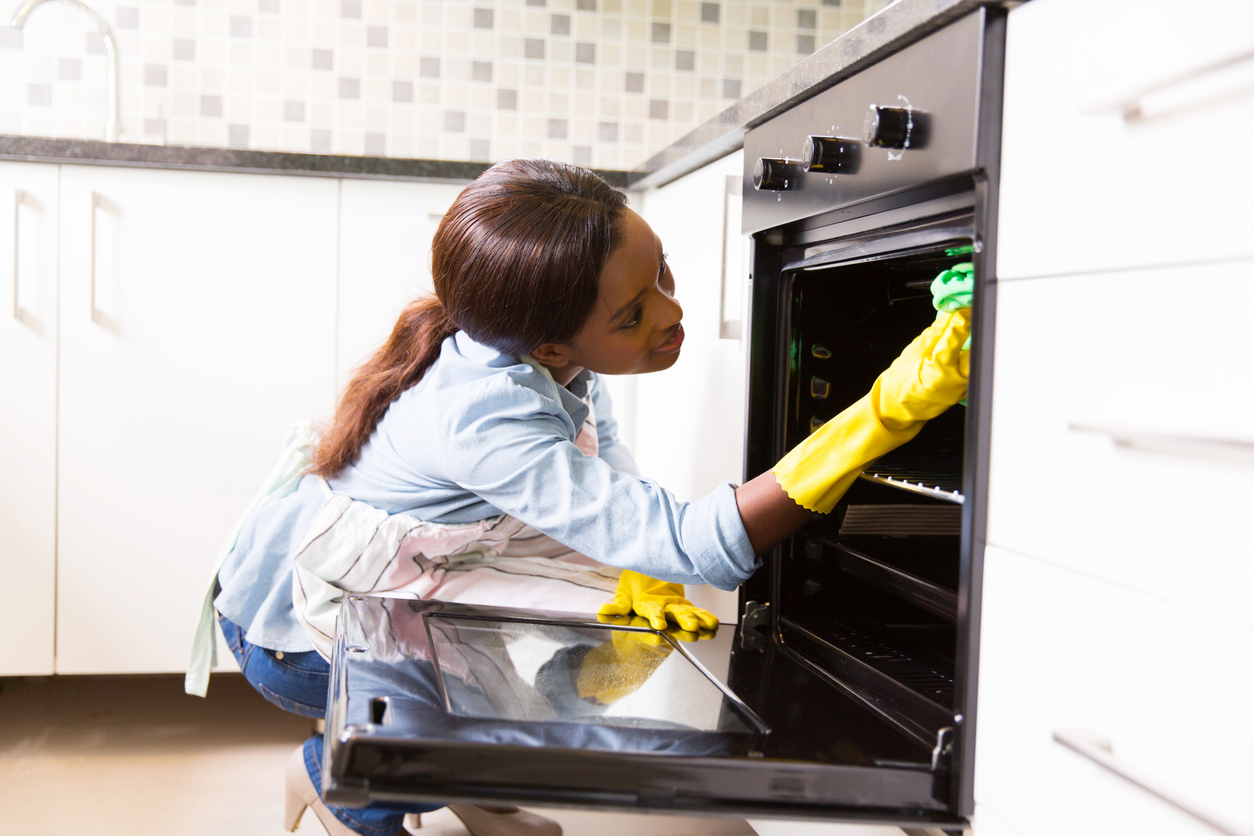
So how should you clean your oven? There are plenty of commercially available cleaners out there, or you might choose to go the natural route instead. A paste of baking soda and white vinegar, or lemon juice and salt, can be coated onto the more stubborn areas of the oven's interior and left for a few hours. Whichever cleaner you're using, you'll need some scrubbing brushes or scourers, as well as an old toothbrush to get into those hard-to-reach places.
Oven racks
First, remove the oven racks. Specialist cleaning kits where you place them in a sealable bag and add a powerful cleaning solution can make light work of hardened grime, but soaking the racks in the sink, or even a bin bag, can be useful too.
Oven interior
Switch off your oven at the mains and lay down some old newspapers to catch any dirt and grime that falls out. Once you're prepped, use a dry brush to scrape away any loose dirt and sweep onto the newspaper.
After you've done this, spray the sides, corners and ceiling with your chosen cleaning products, but take care not to spray the fan, gas supply elements and pilot light. Leave for the required time, and then scrub away with your scourer.
Oven door
In cleaning the door, you'll first want to use a glass scraper, sponge or microfibre cloth to remove baked-on foods. Avoid using wire wool as this could create scratches and could weaken the door.
Check with the owner's manual to see if you're able to remove the glass part of the door. If so, soak the glass in dish soap and water. Afterwards, clean with a vinegar-based cleaner to leave it streak-free.
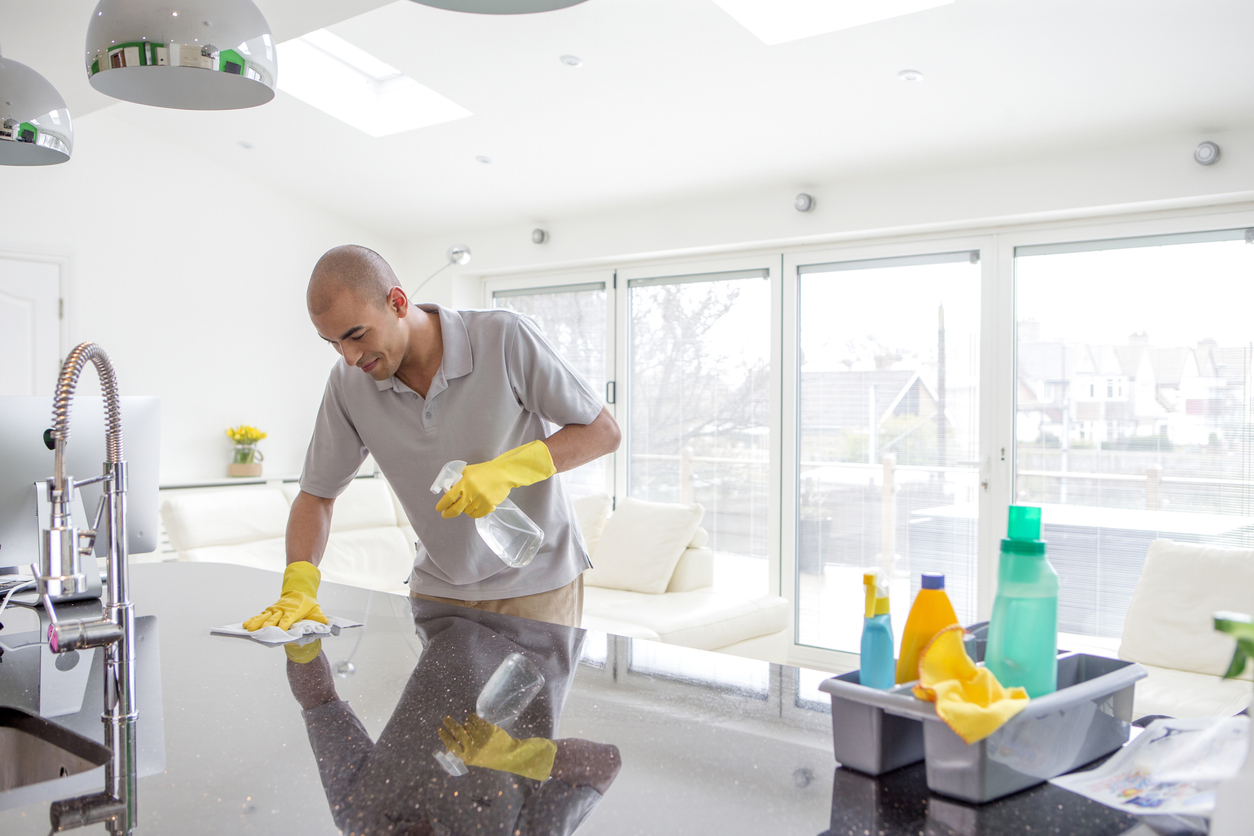
Cleaning your kitchen tops
Kitchen counters get exposed to all sorts of spillages, stains and germs throughout the day, so it's essential to keep them clean at all times. And since there are so many kitchen counter options, each type requires the right cleaning methods to ensure they stay looking at their best. Whichever one applies to you, here's how to take care of your counter...
Wood
Cleaning: Wood surfaces should be cleaned daily with a non-abrasive cleaner or a mix of warm water and distilled vinegar. Any dried food can be scraped off with a metal spatula. Wipe down counters after cleaning so they're dry.
Stain removal: Sprinkle salt onto the stain, and then rub in the salt with a lemon half. Wipe away with water and vinegar.
Marble & granite
Cleaning: A mix of warm water and mild dish soap will do the trick here. Once done, wipe away with a microfibre cloth. Avoid abrasive cleaners as these can strip the sealant and end up etching the stone.
Stain removal: For oil-based stains, use a paste of water and baking soda, while hydrogen peroxide works for water-based stains. Apply the paste to the stain, cover with cling film and tape down the edges. Leave overnight or for a few days, and repeat the process as needed.
Laminate
Cleaning: Water and non-chemical liquid detergent are mild enough to clean laminate tops. Avoid anything too acidic, and don’t use wire wool or scouring pads; a soft dishcloth is all you need.
Stain removal: Make a paste of baking soda and water, apply to the stain and leave for a few minutes before wiping away with a soft cloth. Avoid scrubbing as baking soda's mildly abrasive properties can damage the surface.
Stainless steel
Cleaning: Regular soap and water is fine to use here, but wipe down with a microfibre towel to avoid scratches and streaks.
Stain removal: Apply dish soap and baking soda to the stain, then wipe away with a soft cloth.
Soapstone
Cleaning: Since soapstone is resistant to stains and scratches, any non-abrasive multipurpose cleaner is safe to use.
Stain removal: A multipurpose cleaner can take care of most stains, but tougher stains can be removed with very fine sandpaper. Be sure to apply mineral oil after doing any sanding.
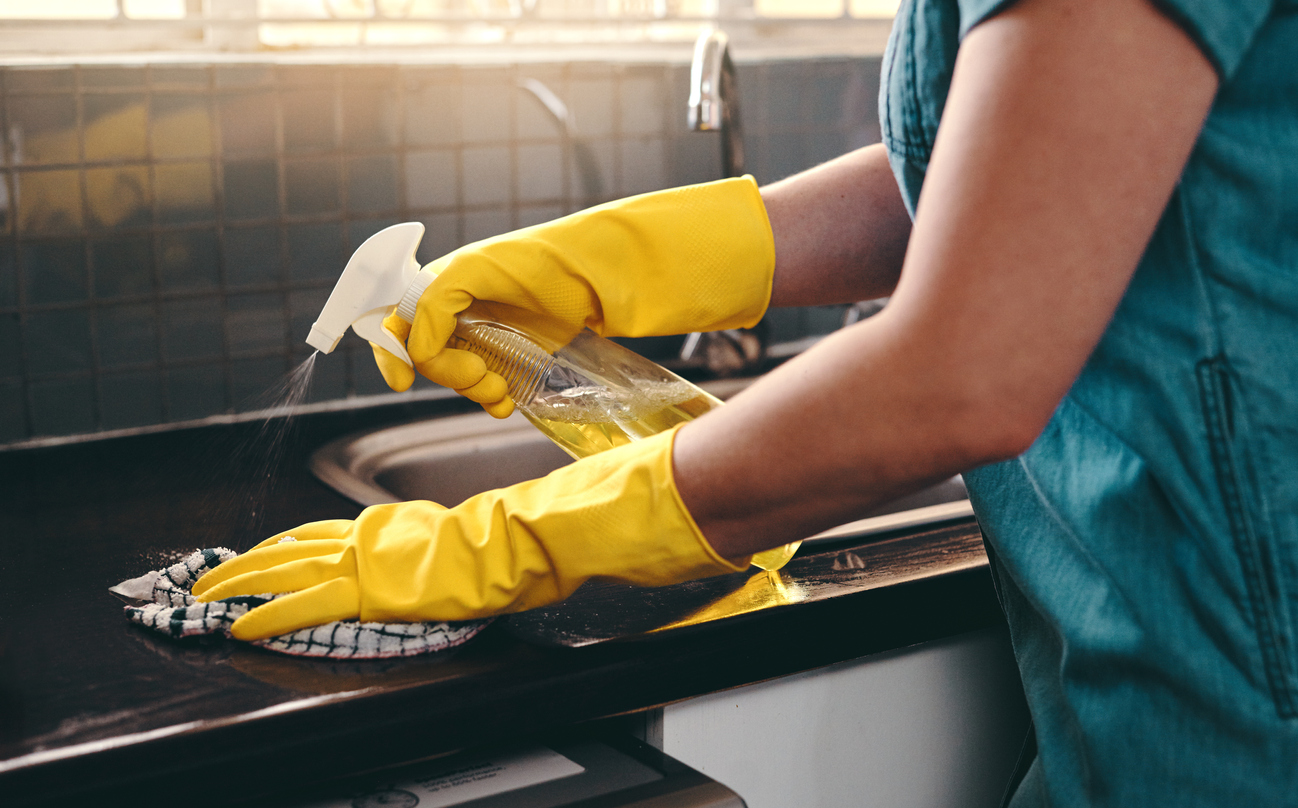
Cleaning the sink
Your kitchen’s sink is subject to all sorts throughout the day, coming into contact with dirty hands, used kitchen plates, and chopping boards that may have had raw ingredients on them. And all the dirt, juice and even blood from these things mean that germs and bacteria like E. coli and salmonella, unsurprisingly, enjoy a stay here. After handling meat and poultry in the sink, wash the basin with soap and hot water. Wipe down with disinfectant kitchen wipes every day, too.
Remember, food particles will not only clog the drain, but they'll be an anchor for germs and bacteria as well. Free up the drain from food and grease by mixing together the following: 1 cup of baking soda, 1 cup of salt and 1/4 cup cream of tartar. Keep in an airtight container and every few weeks, pour 1/2 cup of the mixture down the drain, followed by some boiling water.
At Breville, our range of kitchen appliances are cleverly designed to make them easier to clean, so you can keep your kitchen feeling fresher for longer. For more information and to browse our complete kitchen range, visit the homepage.